Our Build Process
As container homes are a form of non-traditional housing, we know you might have questions regarding the process of how a shipping container becomes a home. While each build is unique, our team has compiled a comprehensive overview that walks step by step through our build process.
Featured Build: Tillamook
Video Build Process Overview: Tillamook 40 FT Custom Home
Before You Begin
Permitting
-
Since container builds are a nontraditional form of housing, we highly recommend talking with the city/county/HOA where your property is and asking if they allow modular container home builds. We have found mixed responses that some builds are approved, some are denied, and others have some restrictions to work around. We are happy to provide any blueprints or build plans that you may need in order to ultimately greenlight the project.
Financing
- We typically see our customers securing financing in the form of construction loans through relationships with local banks. We also partner with Wisetack to offer financing options. Learn more about financing with Wisetack here.
Onsite Prep
- For planning purposes, it typically makes sense to secure your general contractor for your infrastructure (well, septic, roads, etc.), home completion (connect electricity, city services, etc.), and securing a plan for the foundation (concrete slab, gravel pad, railway ties, etc) prior to your order. You can find more information on what work requires a general contractor as well as our list of preferred general contractors here.
Experienced Craftsmanship At Every Step
Step 1: Container Prep
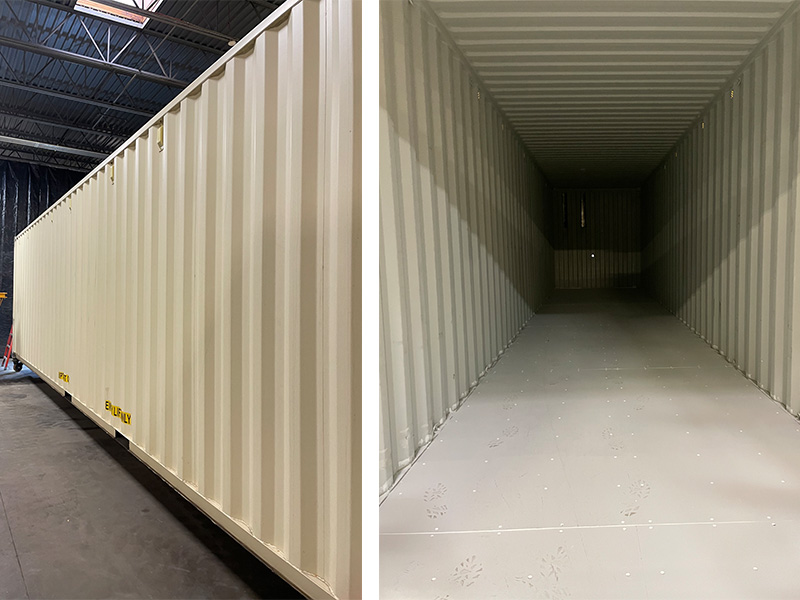
The production process starts by putting your container on casters (container wheels) and rolling your container into our shop. We only use ‘one-tripper shipping containers’, which are shipping containers that were made abroad and shipped to the United States one time and then sold to us to create your tiny home.
Once the container is in the shop, we sweep and clean the shipping containers thoroughly. This includes inspecting the container for any imperfections and addressing each accordingly. We ensure that there is no rust on the container and that dents are minimal to non-existent.
Then we paint the existing container wood floors (that came with container) with interior primer to separate the legacy floor structure that was delivered with the container from the rest of the floor structure that we install, and ultimately the container home.
Step 2: Metalwork Stage
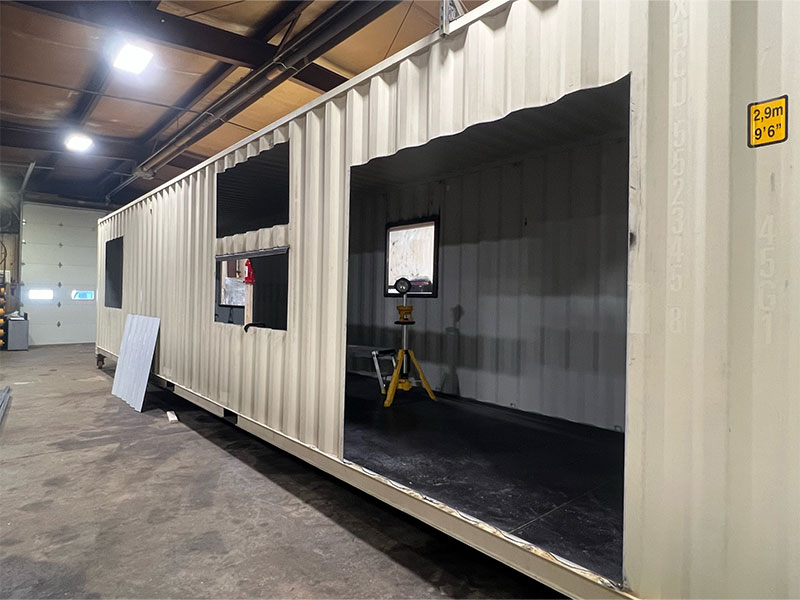
The first step in the fabrication process is metalwork and structural steel reinforcement. This includes steel cutouts for doors, windows, vents, etc, and welding steel around the border of the metal cut to reinforce the container structure. When we make a cut in the container, we always reinforce the opening with structural steel to the point the container doesn’t realize there is a cut in it. Our on-staff engineer does all our structural steel calculations, and the container cuts are performed by our highly skilled metalwork team.
Step 3: Exterior Paint Stage
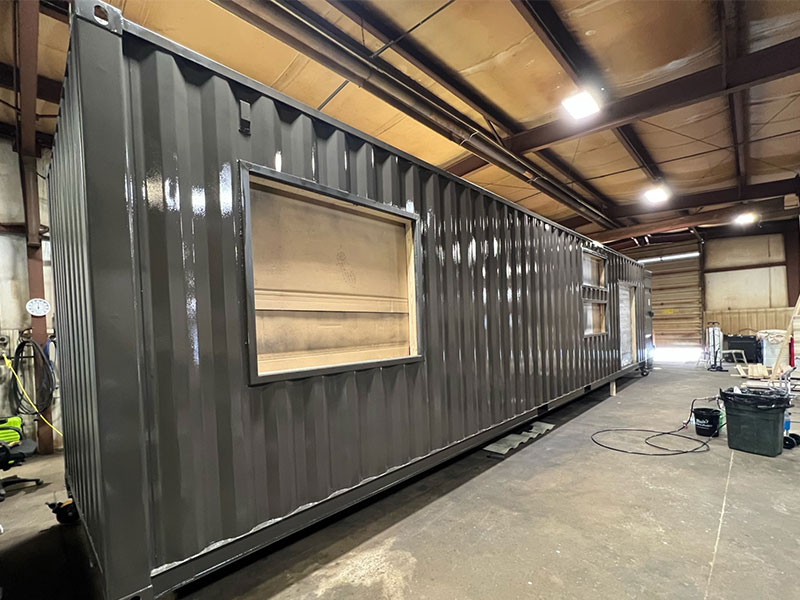
Once the metalwork is complete and before we start the rough-in stage, we paint the exterior of the container to minimize the risk of paint getting on any unwanted areas. We paint the container exterior with marine-grade paint for a long-lasting finish. Most Sherwin-Williams colors are available as options for the exterior color of your container home.
Step 4: Rough-in Stage
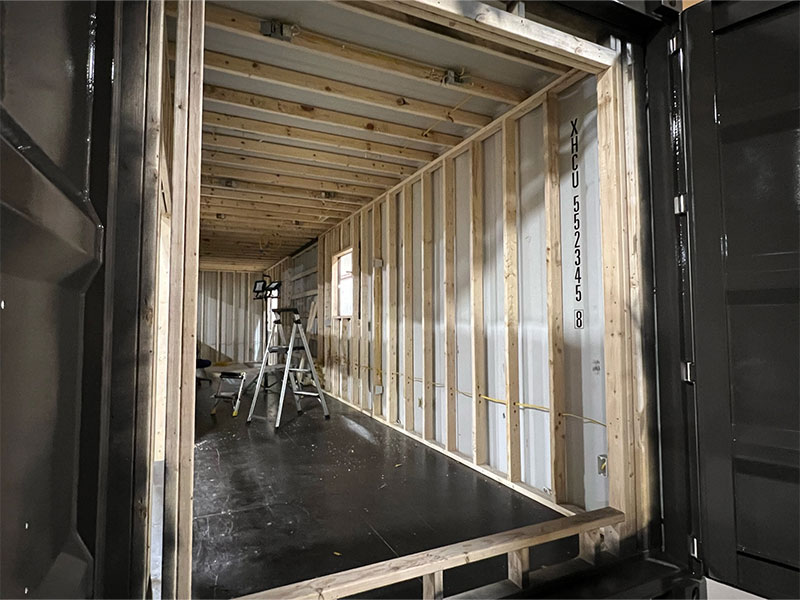
The first step in the rough-in stage is to install the subfloor (insulated floor system). The subfloor acts as a vapor barrier and provides an r7 insulation value. This is installed standard in all our container structures.
We then frame the interior of the container walls, ceilings, and room structures using 2” x 4” wood studs.
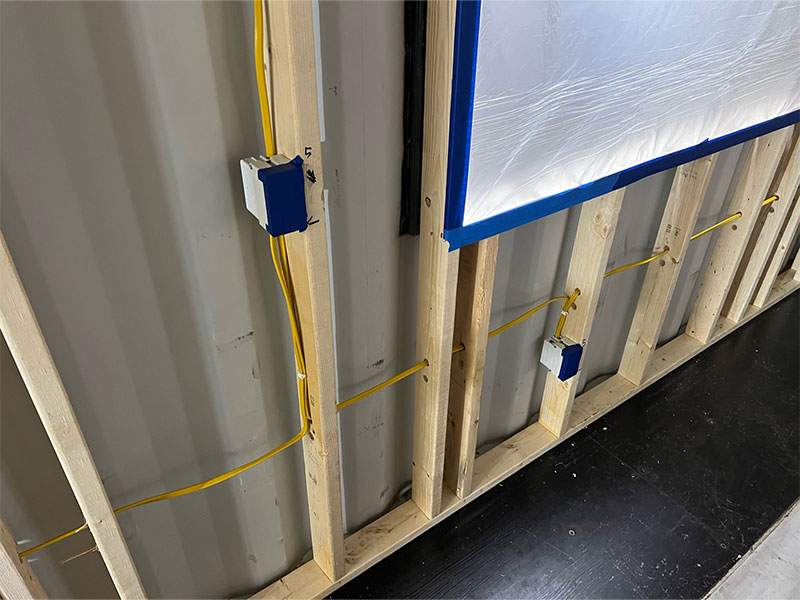
Once the framing is complete, we start the electrical installation process throughout the container. All interior spaces feature code-required electrical outlets & switching with recessed LED ceiling lighting included powered from the exterior breaker panel. We also include an external generator plug in all our containers as well as a backup or primary off-grid energy source.
The next in the step rough-in stage is the plumbing installation process. We install PEX piping and PVC drain systems with black and greywater drains to be connected to an RV hookup or sanitary sewer system. We also include the connection to the main water supply. After this, the electric tankless water heater is installed.
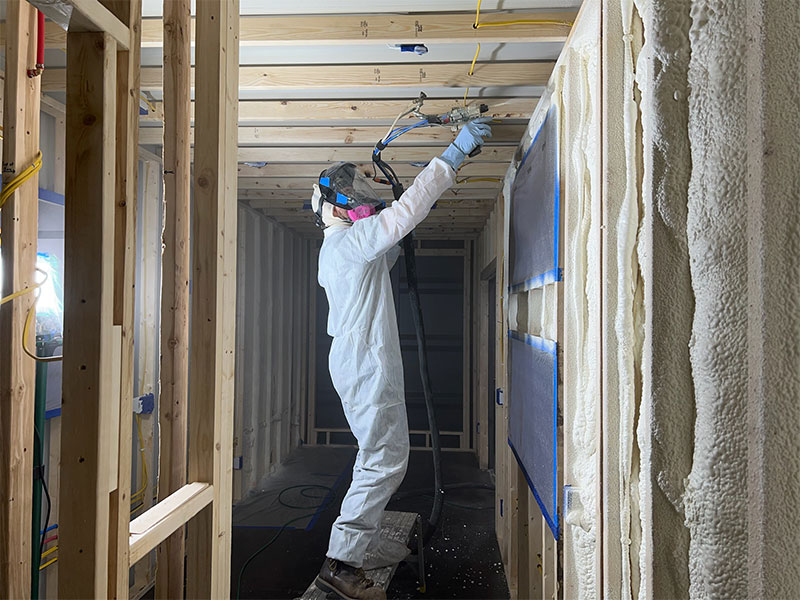
Once the electrical and plumbing systems are installed, we apply spray foam insulation to the walls and ceilings. Our standard insulation package is more than sufficient to cover most geographic areas in the lower 48. We use 2LB closed-cell spray foam to insulate the walls (2" - r14 value) and ceilings (3" - r21 value) and utilize a subfloor system (r7 value) that we install under your luxury vinyl flooring.
For those in colder climates, we offer a 'winterization' upgrade package that, at a minimum, includes applying 2LB closed-cell spray foam underneath the container (2" - r14 value) and sealing it from the elements. Some counties may require more spray foam insulation in the ceiling or walls than our standard - no problem at all. We are a fully custom shop so we can add as much, or as little spray foam insulation as needed.
Once the insulation is installed, we thoroughly vacuum and clean the interior of the container before we move it to the carpentry section of our facility.
Step 5: Production Stage
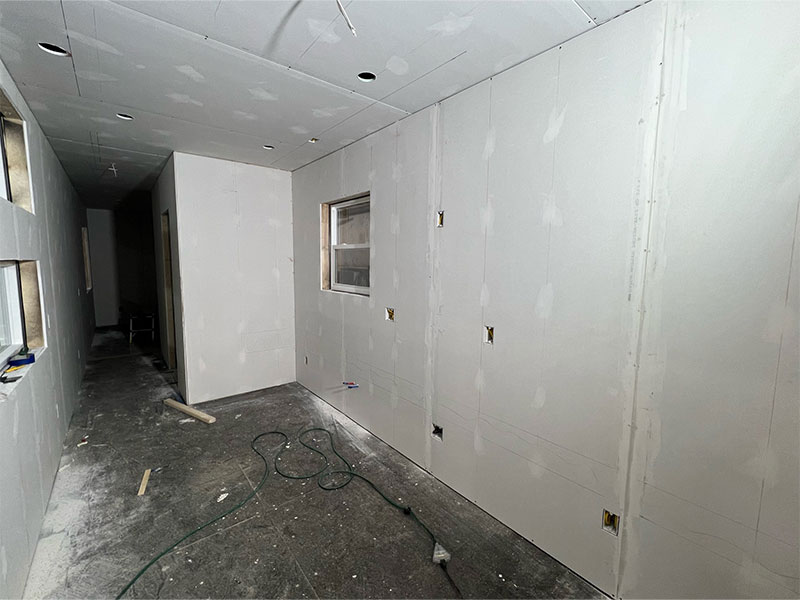
Once your container is roughed in, we move the container to the carpentry section of our facility for the final stage of fabrication and finishing. This process starts with installing shiplap or drywall on the walls, ceilings, and trim on the walls, floor, and ceiling. We then re-paint the shiplap/ drywall and trim to make sure it is in pristine condition. Afterward, we install the ceiling furnishings (ceiling fans, fire / CO2 detectors, LED lights, etc..).
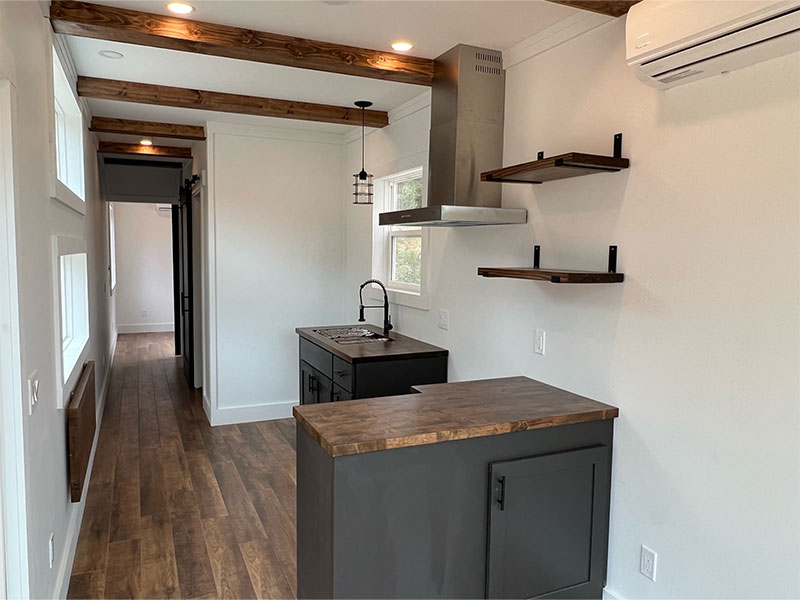
This stage also includes installing the HVAC (12,000 BTU 19 SEER 230 Ductless Mini-Split Air Conditioner & Heat Pump). At the same time, our team is installing luxury vinyl flooring throughout the container and the exterior doors, windows & lights outside the container.
The kitchen furnishings and fixtures that are typically installed include:
- Quality cabinetry (soft close hardware, upgraded box construction) topped with floating butcher block shelves above countertops.
- Fire clay farmhouse sink & faucet with pulldown sprayer.
- 2 burner electric induction cooktop (freestanding).
- Space for an apartment-sized refrigerator.
Once the kitchen and bathroom are complete, we install the interior sliding barn or pocket doors. This completes the fabrication of your container home, at which point we thoroughly clean the interior and exterior of the container and move the container to the quality control area.
Step 6: Inspection/ Quality Control Stage
Our Production / Quality Control Manager and Project Manager perform the quality control inspection of the project. This includes testing the HVAC, electrical, and plumbing systems. The windows and doors are inspected, and the weather tightness of the container home is tested. A finishing quality walkthrough is then performed to ensure container aesthetics are pristine.
Once our internal quality check is completed and your container home passes, the customer either inspects the container remotely by video call walk-through or visits our production facility and inspects it in person.
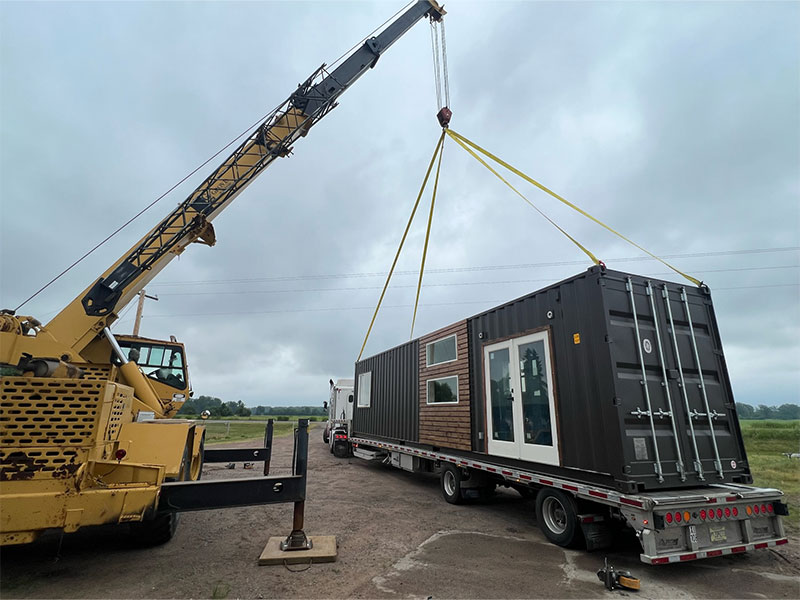
Once the container passes all inspections, it is prepped for shipment. Windows and doors are taped, and moveable items in the container are locked down for transit.
Monitoring Process
Our quality control process includes multiple quality control checks throughout each stage of the container fabrication process listed above. We provide the customer with at least two status updates a month which include pictures and/or videos, and descriptions of the build. Our team documents each stage of the build process through picture and/or video documentation that is stored in a project-specific folder.
Have Questions Regarding Our Build Process?
Check out our collection of FAQs or Contact Our Team
